
If you use Microsoft, you must have used or at least heard about its office utility tools, Office 365. With more than 60 million active monthly users, Office 365 offers a wide range of applications. However, the one not so popular usage is faxing through Office 365.
If you are using Office 365 and prefer fax as a mode of communication, CocoFax is the best option for you. In this article, we will be discussing how you can use Office 365 for sending and receiving faxes.
This method is easy, simple, and doesn’t require you to make an investment in a fax modem or a fax machine. Click here to know more about how you can send a fax through Office 365 using an online fax provider like CocoFax.

Please note that Office 365 fax services are not included in the office suite by default. That is why most of the users are unfamiliar with this feature.
There are some expensive workarounds like buying a costly fax modem, but there is another one that doesn’t require any investment at all.
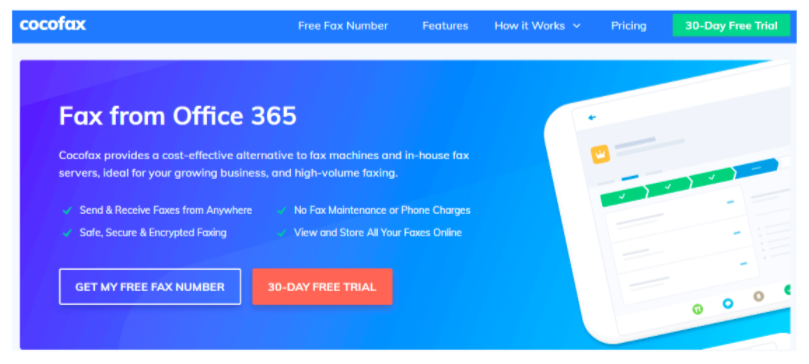
CocoFax
CocoFax is an online fax service provider you can use for sending and receiving faxes all over the globe. For years, CocoFax has been serving millions of customers from all over the world by providing them with fax assistance.
Its popularity can be verified by the fact that some of the biggest media outlets such as PCMag and Forbes have reviewed CocoFax in a good light. Faxes use electronic lines to operate. However, the phone or computer system running Office 365 works on a digital platform.
Since both of them are on a different platform, they cannot interact with each other. That is why you need a third-party service provider like CocoFax for making the two platforms interact with each other.
CocoFax will be translating the digital platform into something that is understandable by fax and electronic platform into something that is understandable by smartphone or computer.
A third-party application like CocoFax can make it happen easily. It will also save you from going through all that trouble to get expensive hardware that will be translating the two mediums.
Another advantage of using CocoFax is the security it offers. When you use a fax machine, anyone can read the faxes as it is printing paper in the open. However, if you are receiving faxes on your CocoFax account, no one will have access to the faxes since the account is password protected.

Requirements to send a fax through Office 365
If you want to send or receive faxes through Office 365, here are a few things that you will need. You will already have most of these things, so you won’t have to put in a lot of effort to get the requirements.
1. A device with an internet connection
Firstly, you must have a device like a computer, laptop, tablet, or smartphone that has an internet connection. Also, make sure that the device is compatible with Office 365.
2. Office 365
You will be using Office 365 for sending and receiving faxes. So, you need to have it installed on the device.
3. CocoFax
In order to be able to fax using Office 365, you need to have a CocoFax account. You will get a free trial period of 30 days that will allow you to try the application before buying the subscription.
4. Fax Number
You need a fax number to send and receive faxes. However, with CocoFax, you won’t have to go through a lot of hassles of the application process to get a fax number. CocoFax will take care of it.
CocoFax will provide you a fax number for free. In fact, it will let you select your own fax number.
Sending Fax using Office 365
The best and easiest way of sending a fax using Office 365 is by using a CocoFax addon. It will be visible in the Microsoft Word documents and you can fax the document from right there.
Here is how you can use the CocoFax addon for sending fax through Office 365:
1. The first step is adding the CocoFax addon to the MS word. For this, you have to open the Word application on the system.
After the application opens, click the ‘Insert’ menu. A dropdown will appear. Find the option that says ‘Office Add-ins’ and click it.
The Add-ins popup will open. Search for ‘CocoFax’ and when you find it, press the ‘Add’ button. This way, the CocoFax addon will be added to your Word application.
2. Your Word application can now be used to send faxes. Whatever you want to fax must be first opened up in the Word application. As soon as the document opens up, the CocoFax button will become visible on the Home ribbon.
Click on it and the CocoFax popup window will appear. In this window, you can select all the pages you want to fax. Also, you have the option of faxing selected pages from the document. After you have selected the pages, hit the ‘Continue’ button.
3. In the next step, you have to enter the recipient’s details. You have to enter their fax number and select their country. After that, you can press the ‘Continue’ button. You might be asked to log into your CocoFax account using your account credentials.
In case you don’t have an account, you can create a CocoFax account by selecting the ‘Register a new account’ option. You will be redirected to the CocoFax site account creation page.
4. After you have logged in to the CocoFax account, a popup window will appear confirming that you are sending the fax to the given fax number. Select the ‘Send’ button if the details are correct.
CocoFax will be receiving this fax and sending it to the receiver from your end. A detailed transmission log will be sent to you. Also, you will receive the confirmation of the successful delivery in your email.
By following the above-mentioned steps, faxing someone will become an easy process. Apart from Office 365, there are several other methods through which CocoFax can be used for faxing including Gmail, Google Drive, etc. You can explore the CocoFax website to see all the services it offers.